Creating Alerts
Anomify will start to detect anomalies as soon as you start sending metrics. All anomalies will be logged in the database but an alert will only be sent when an anomaly occurs on a metric that has an alert set up to watch it.
In the first week you can create a few test alerts on a handful of metrics. However realistically you should not consider setting up proper alerts until Anomify has received a few days of data and has built up a picture of expected data ranges.
Follow these steps to create an alert:
-
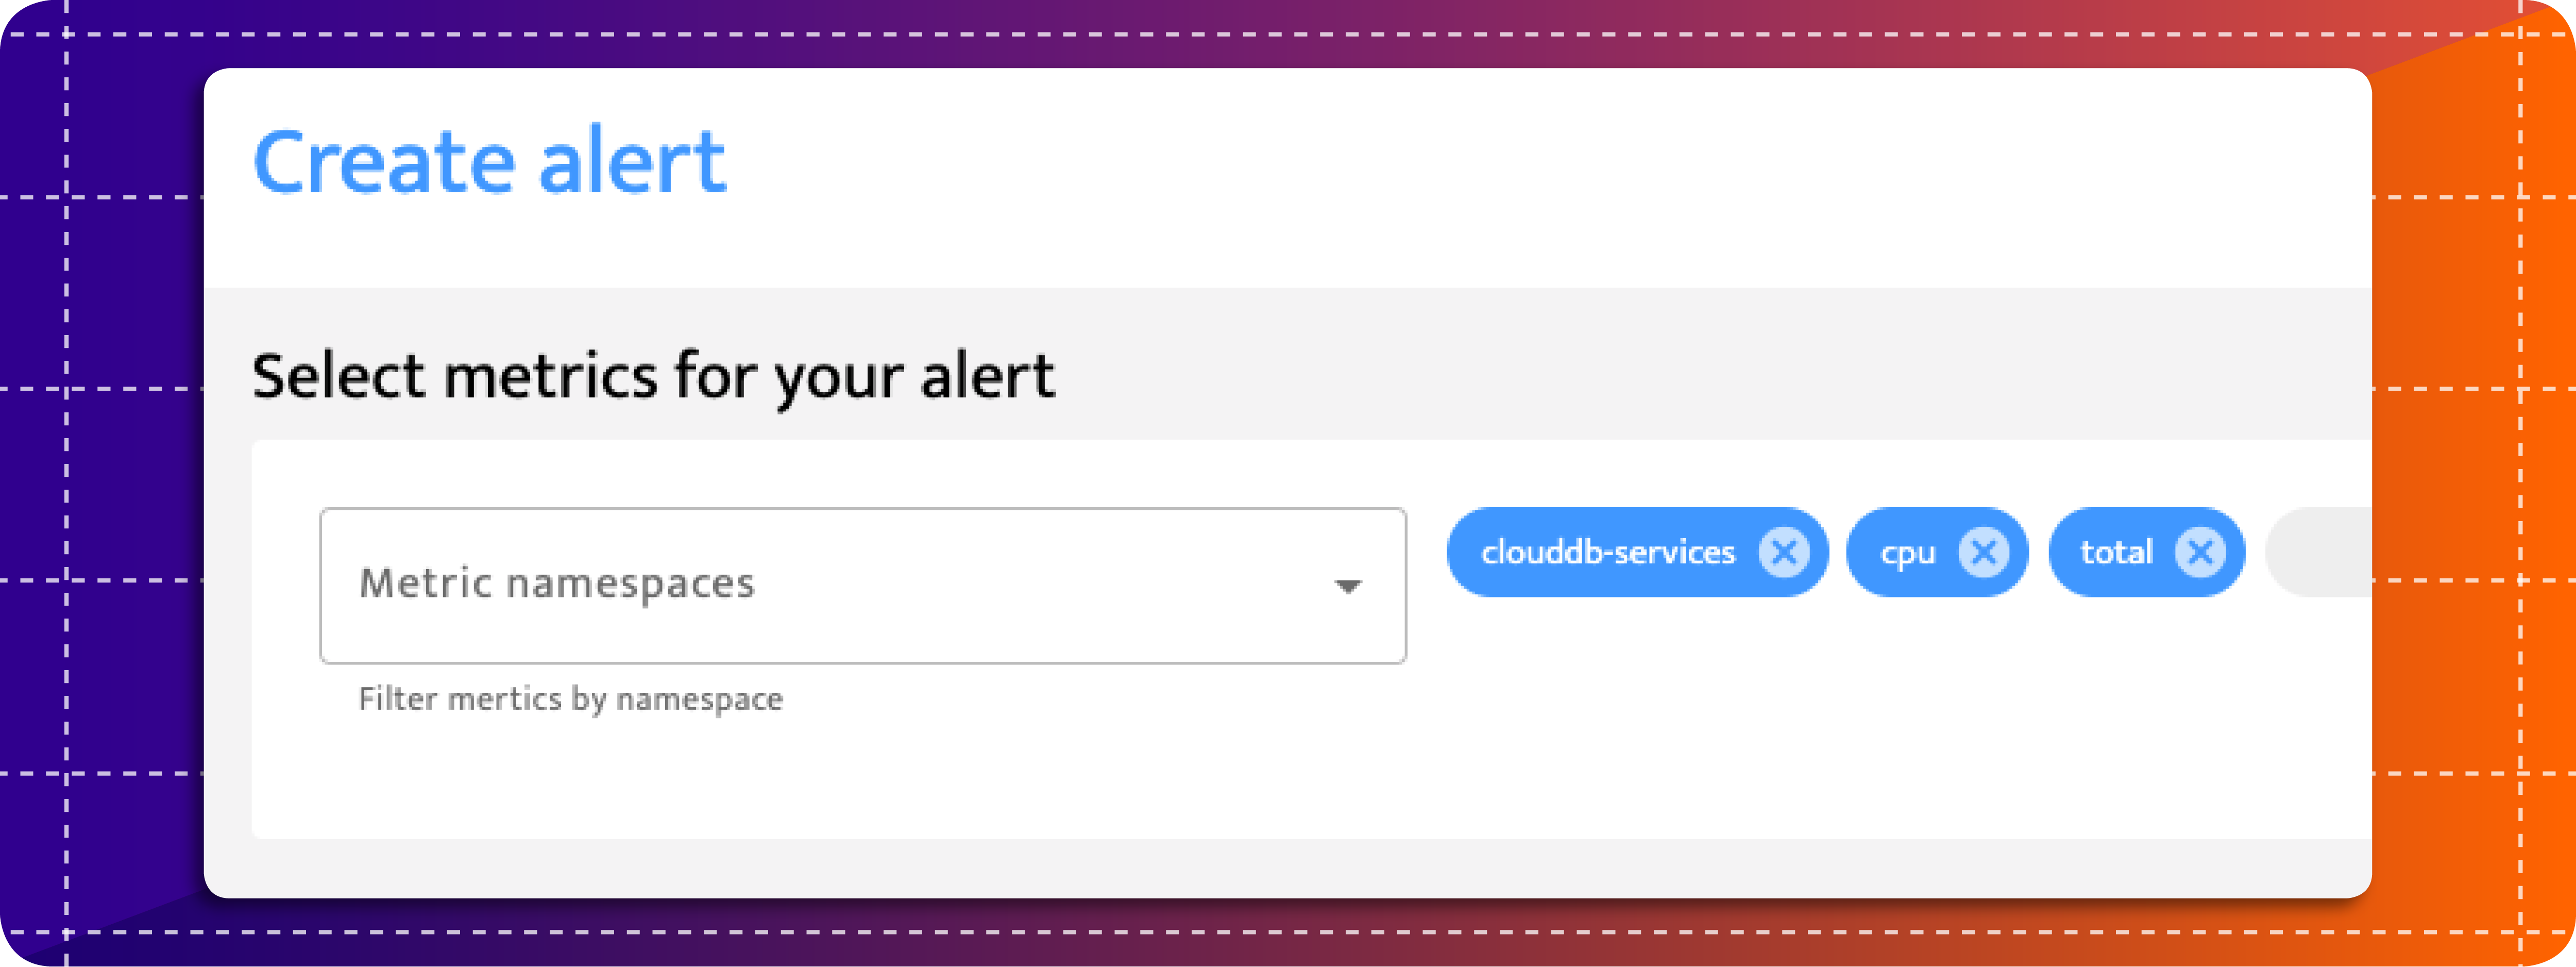
On the Create Alert page and use the dropdown to find metrics that you want Anomify to include in your alert. It is better to set alerts on a few key metrics rather than your whole metric population.
-
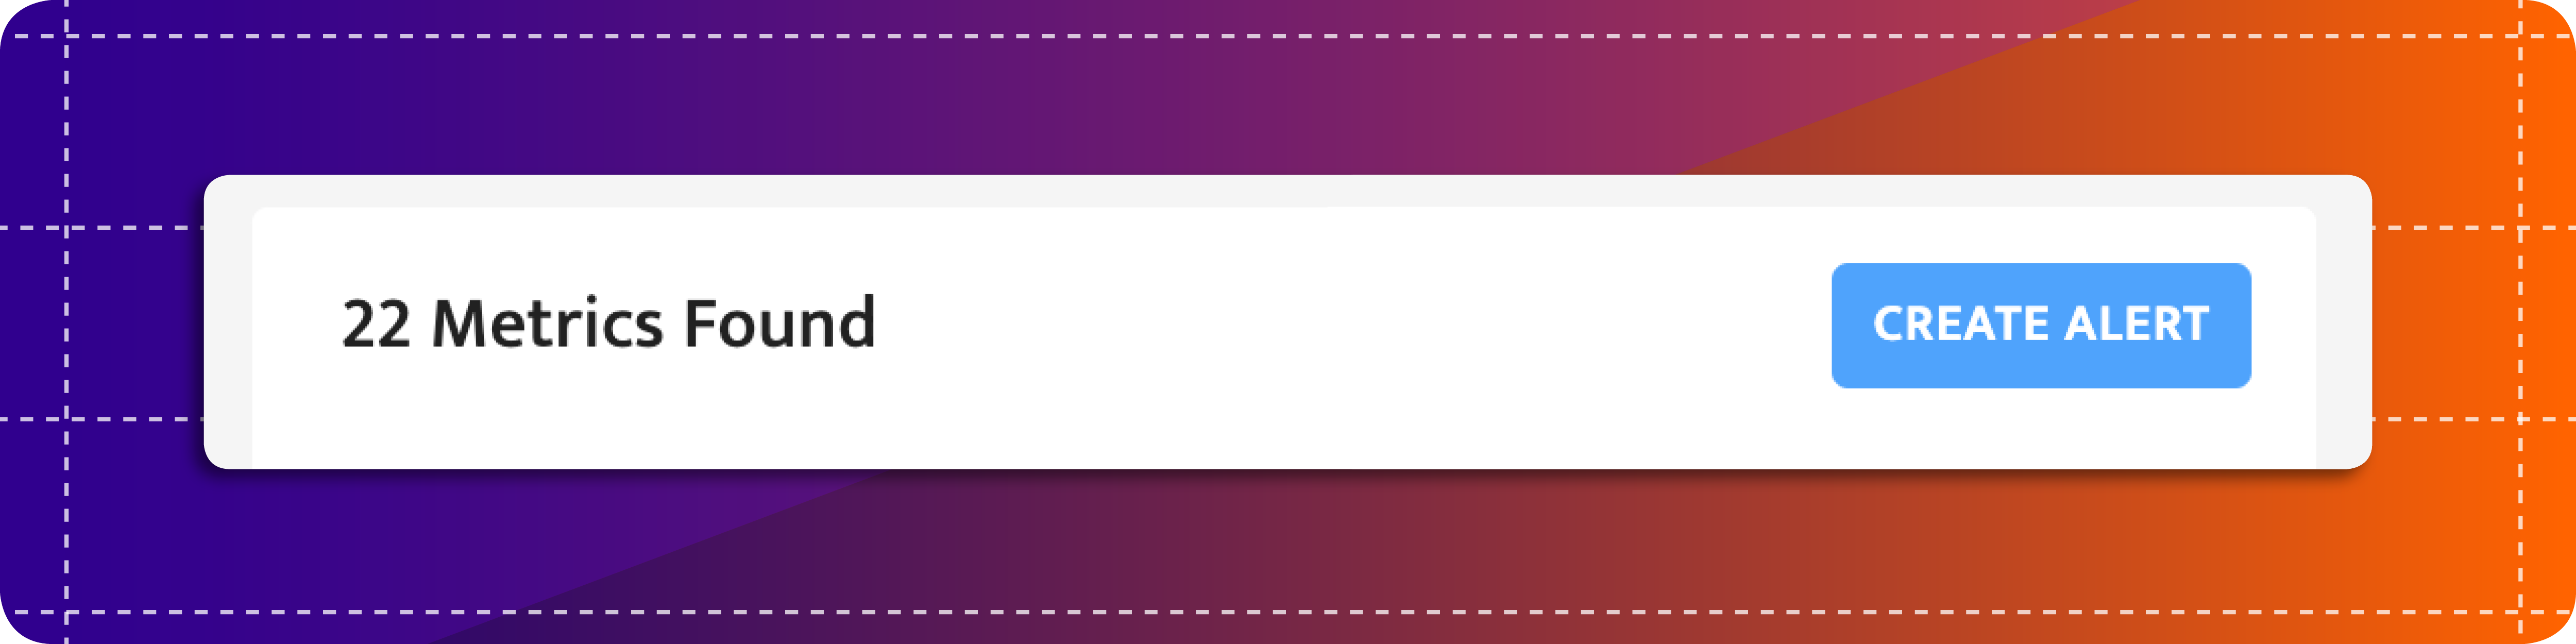
Select the create alert button in the search results box. The alert you're creating will monitor the namespaces in your search filter. If new metrics are added that match the search filter they will automatically be monitored.
-
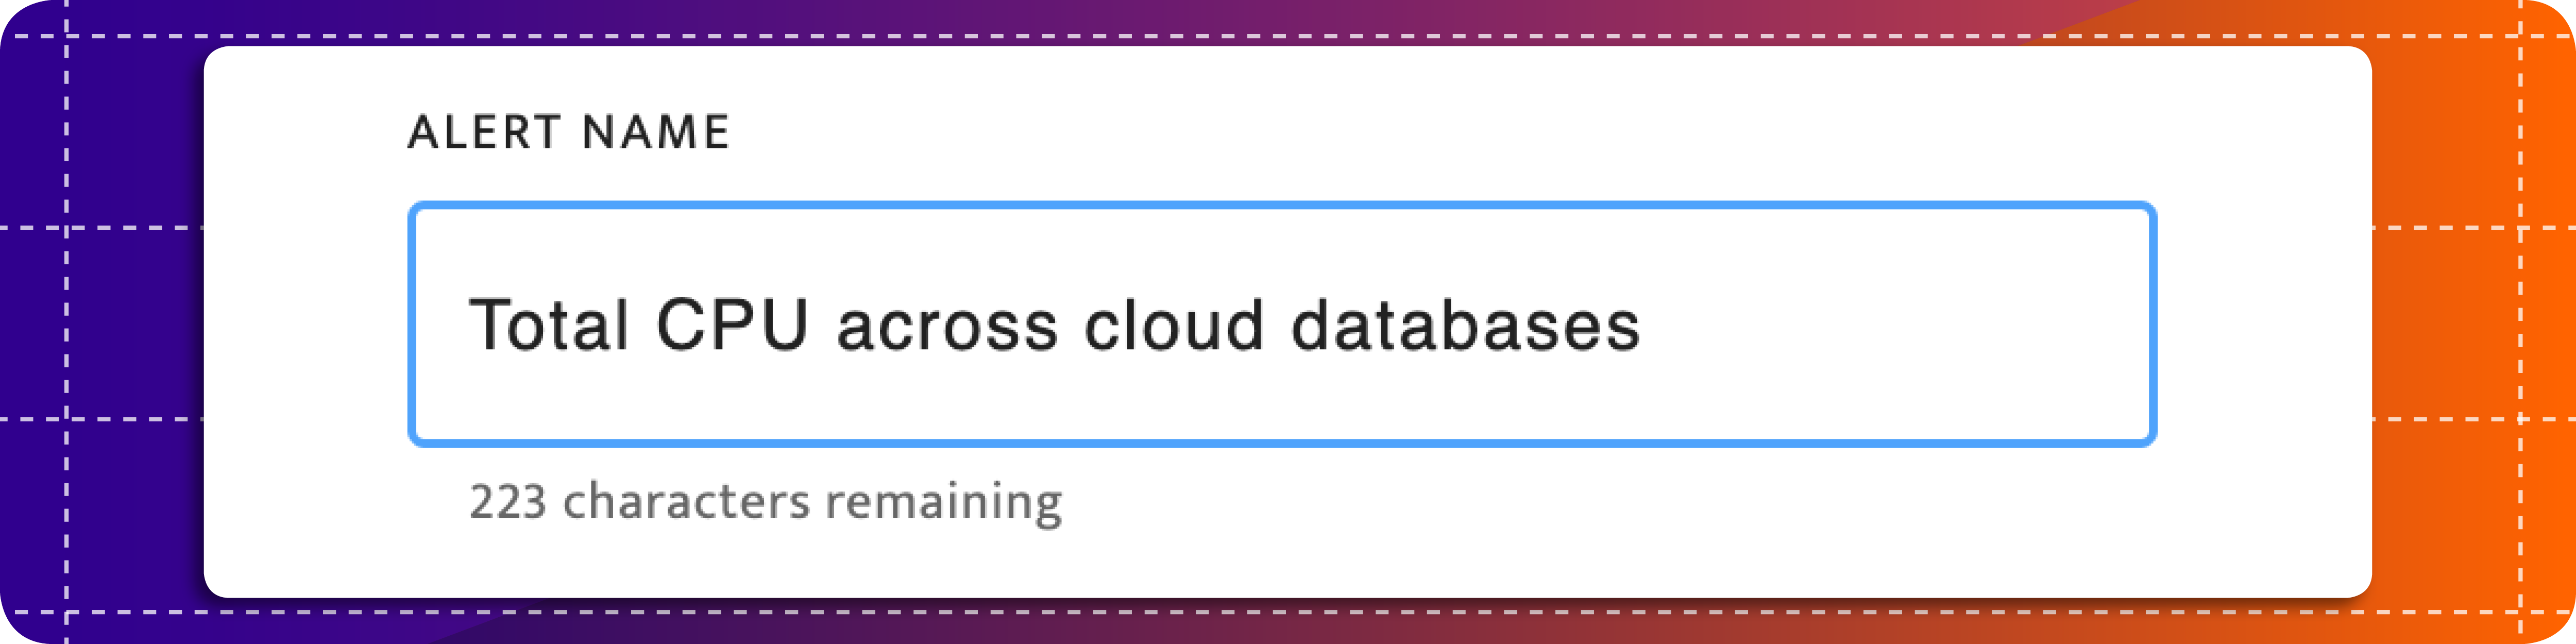
Give your alert a meaningful name.
-
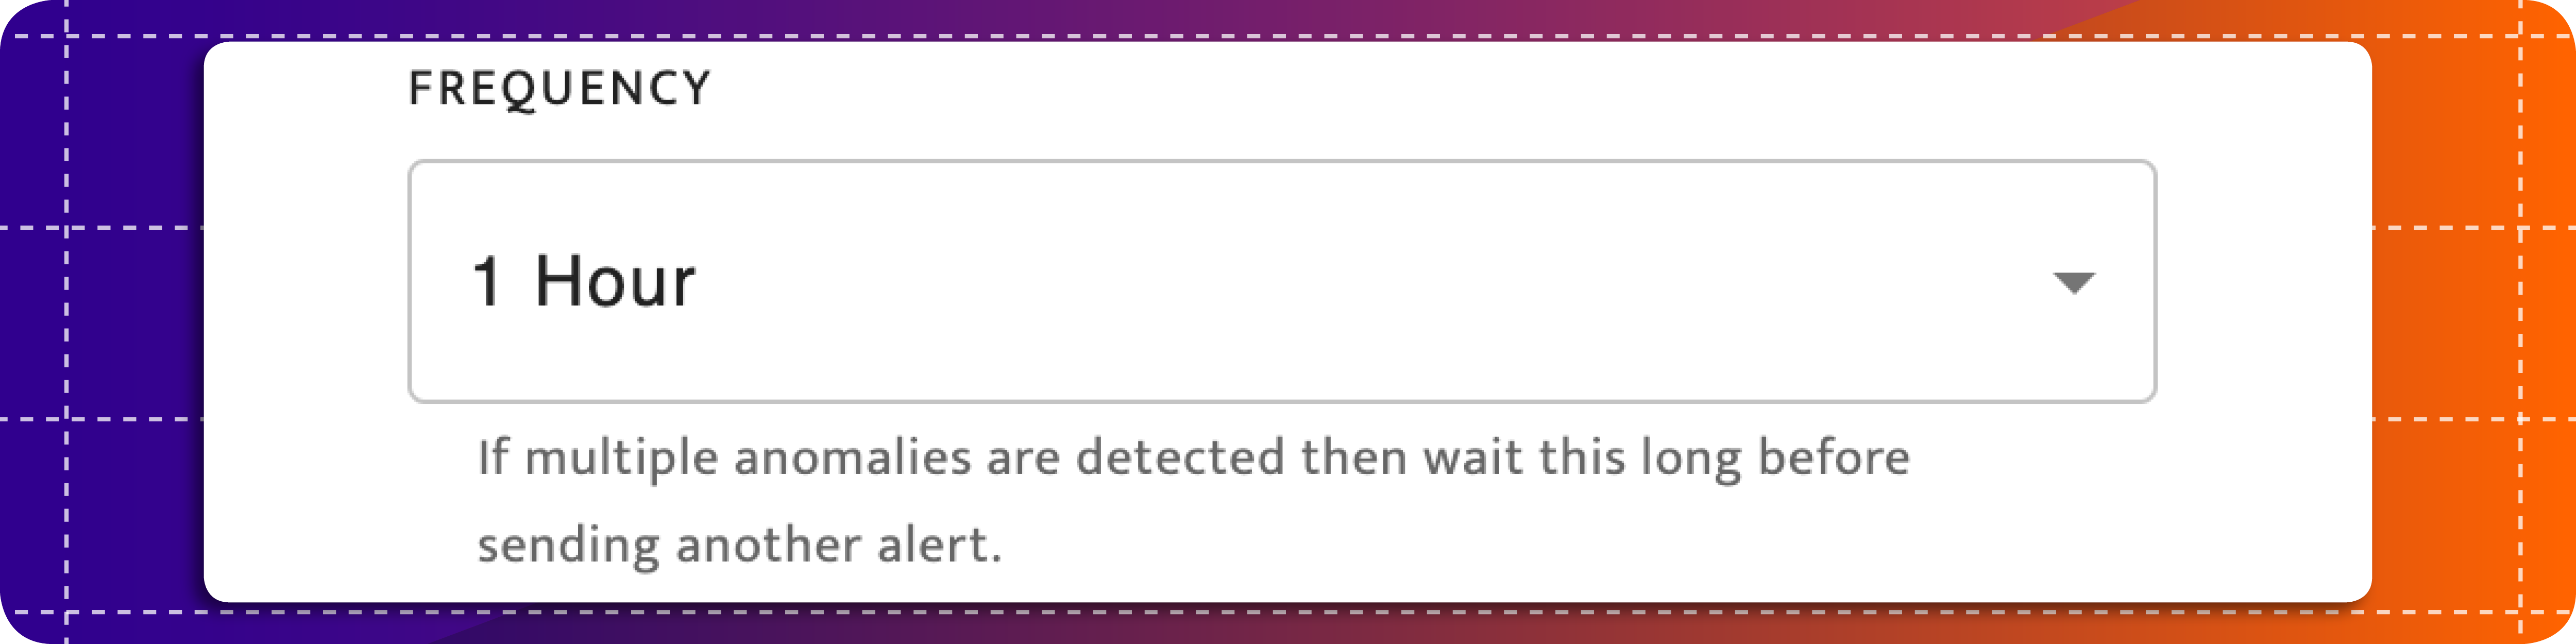
Choose the frequency at which you would like to be alerted if the anomaly persists.
-
Choose the output channel where you would like the alert to be sent. Anomify supports Slack, webhooks & email. If you don’t see the alerting channels you are expecting please get in contact with the team.
-
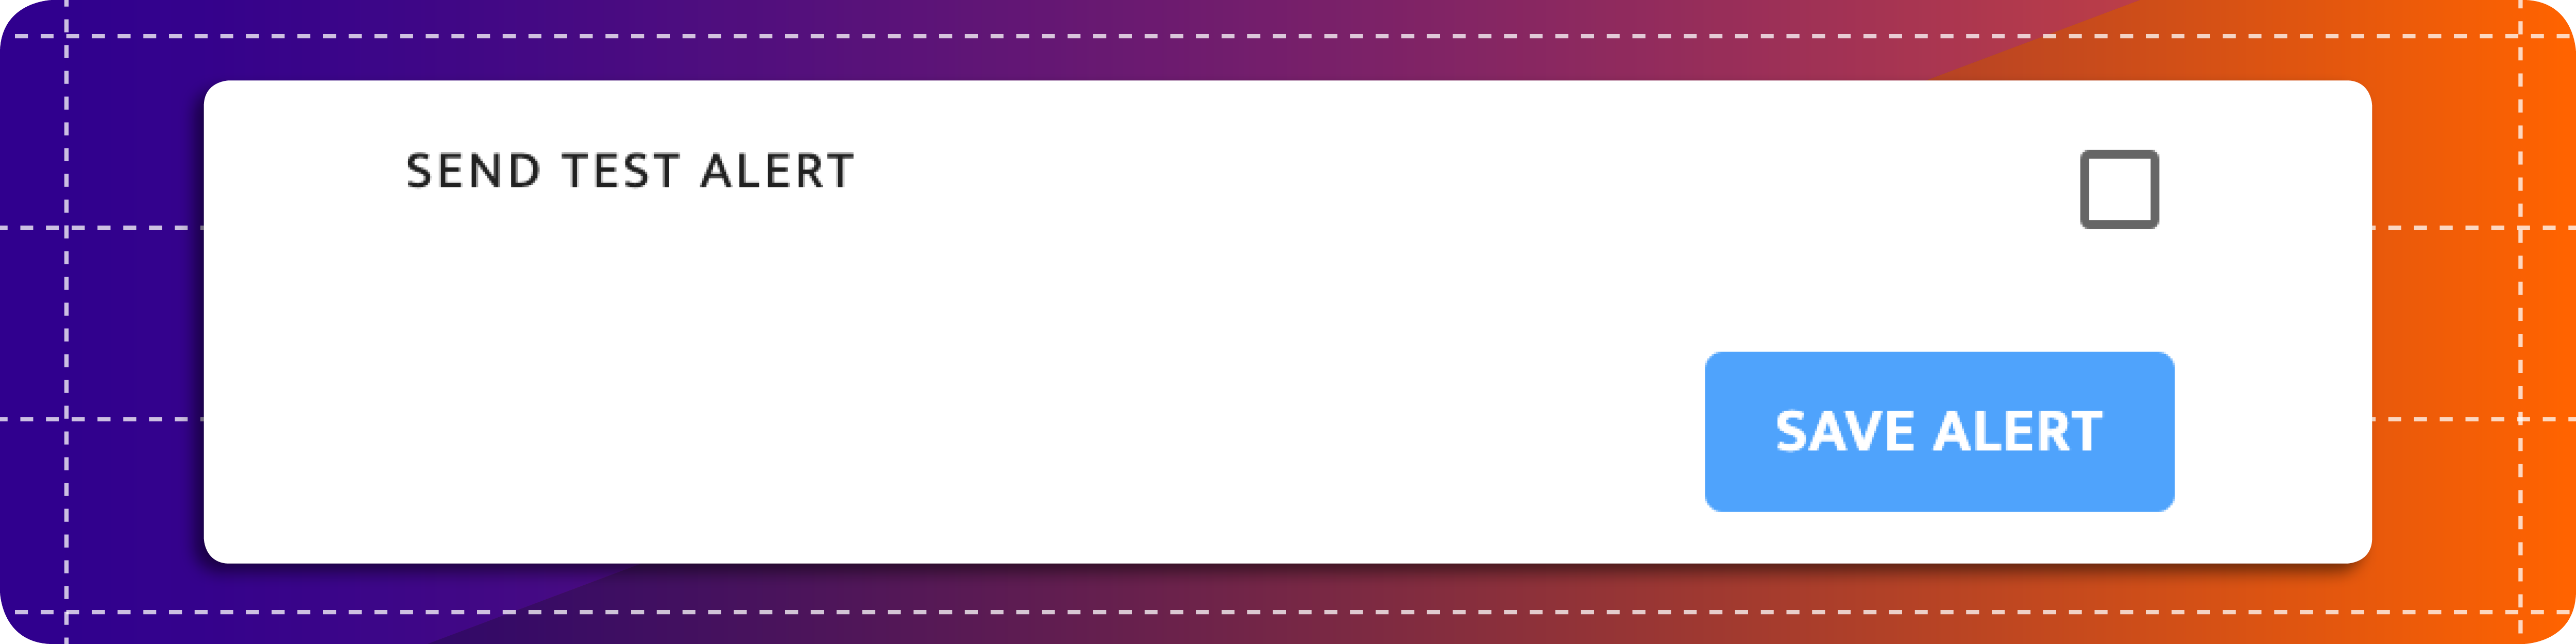
Select save alert. You will be alerted in real time when anomalies occur on metrics that match the search terms.
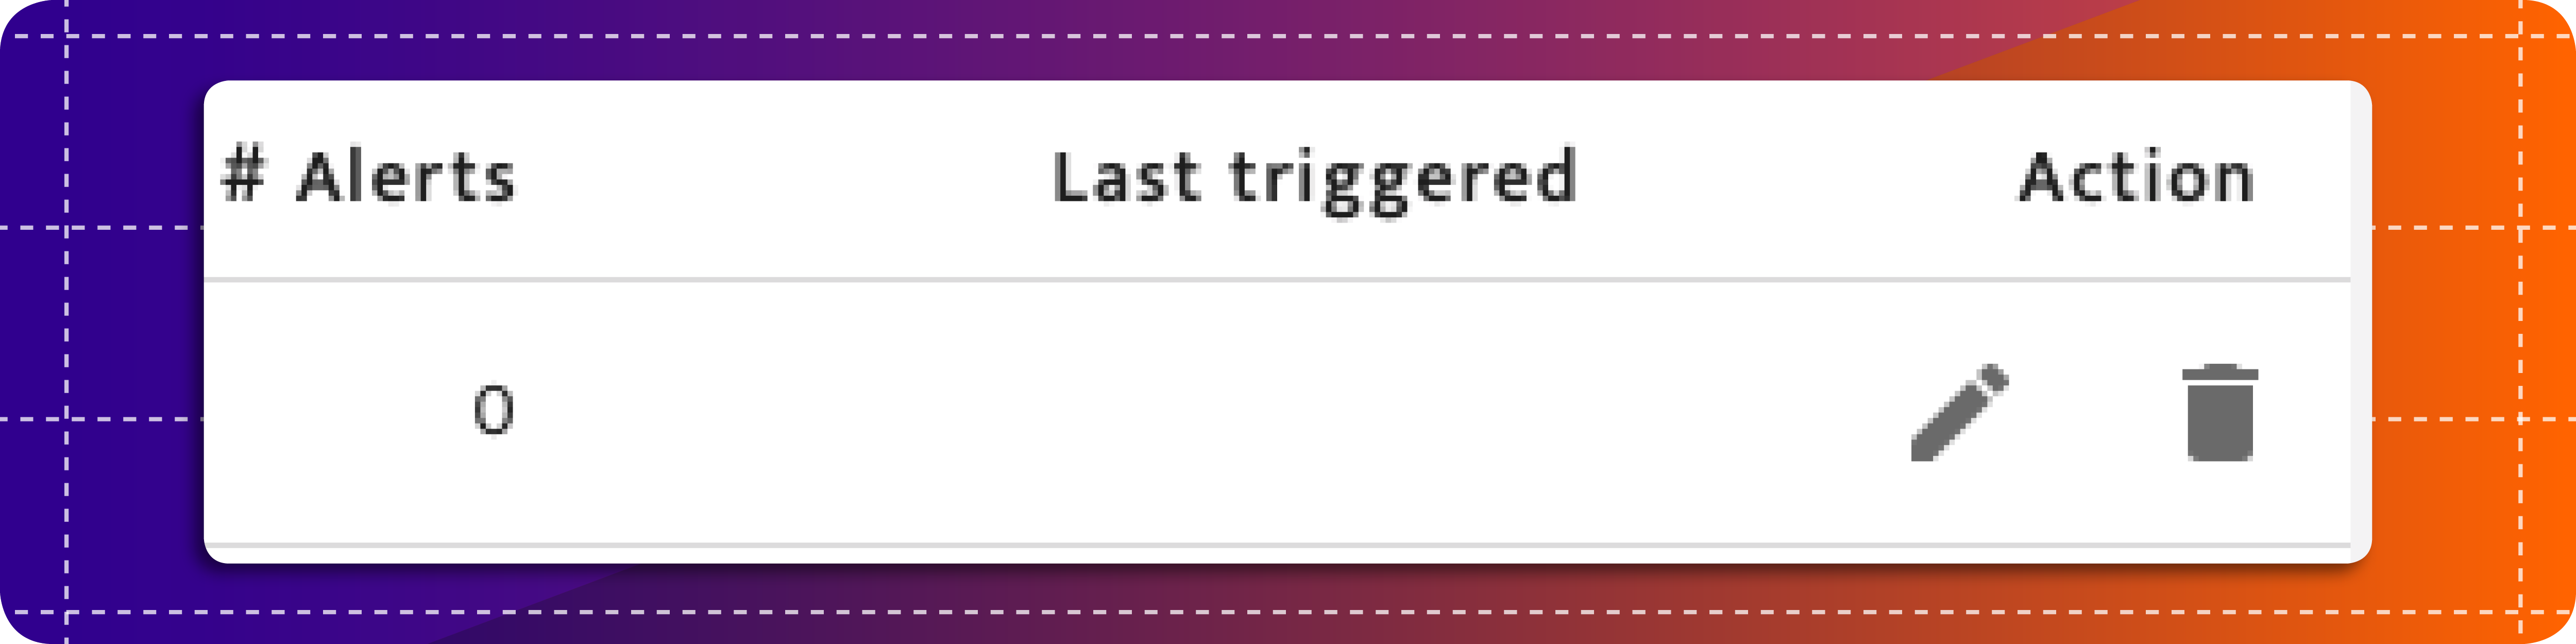
Editing alerts
You can edit and delete alerts on the manage alerts page. To edit an alert select the pen or trash icon. To delete an alert select the trash icon. You are only able to update alerts that you created.